 Swift Backup

Before you start
- Update Swift Backup on both phones. Backups made by version 5.1.0 or later can't be restored by older versions.
- Use the same account. Backups are linked to the Swift Backup account that made them. Sign in with that account on the new phone.
- Keep the old phone as it is until everything is back on the new one.
Back up the old phone
Back up your apps
Open Apps, tap Batch actions, then Backup. Select your apps, tap Backup options and then Backup. App data needs root. The guide to apps without root has each step.
Back up messages and call logs
Open Messages and tap Create backup. Do the same in Call Logs. The SMS and call log guide walks you through it.
Back up Wi-Fi networks
Open Wi-Fi on the Home screen and back up your saved networks. This needs root, or Shizuku on Android 11 and later.
Back up wallpapers and folders
Open Wallpapers and Folders on the Home screen. In Folders, add each folder you want to keep, then back it up.
Bring the backups to the new phone
Through the cloud: Pick Cloud under Select backup locations when you back up. Messages, call logs, Wi-Fi networks and wallpapers go to the cloud free with a Google account. Apps and folders need Premium.
By copying the folder: Copy the whole SwiftBackup folder from the old phone to a PC, SD card or USB drive. Then copy it back to the same place on the new phone. Don't change the folders inside it.
After copying, restart Swift Backup so it finds the backups. Open Account, then Settings, and tap Restart app.
Backup files of 4 GB or more don't fit on a FAT32 card or drive. Use exFAT. The FAQ has the details on copying backups.
Set up the new phone
Install Swift Backup
Install the latest version from Google Play.
Sign in with the same account
Sign in with the Google account you used on the old phone.
If you used Swift Backup without an account, tap Skip for now and go on without an account again.
Connect the same cloud
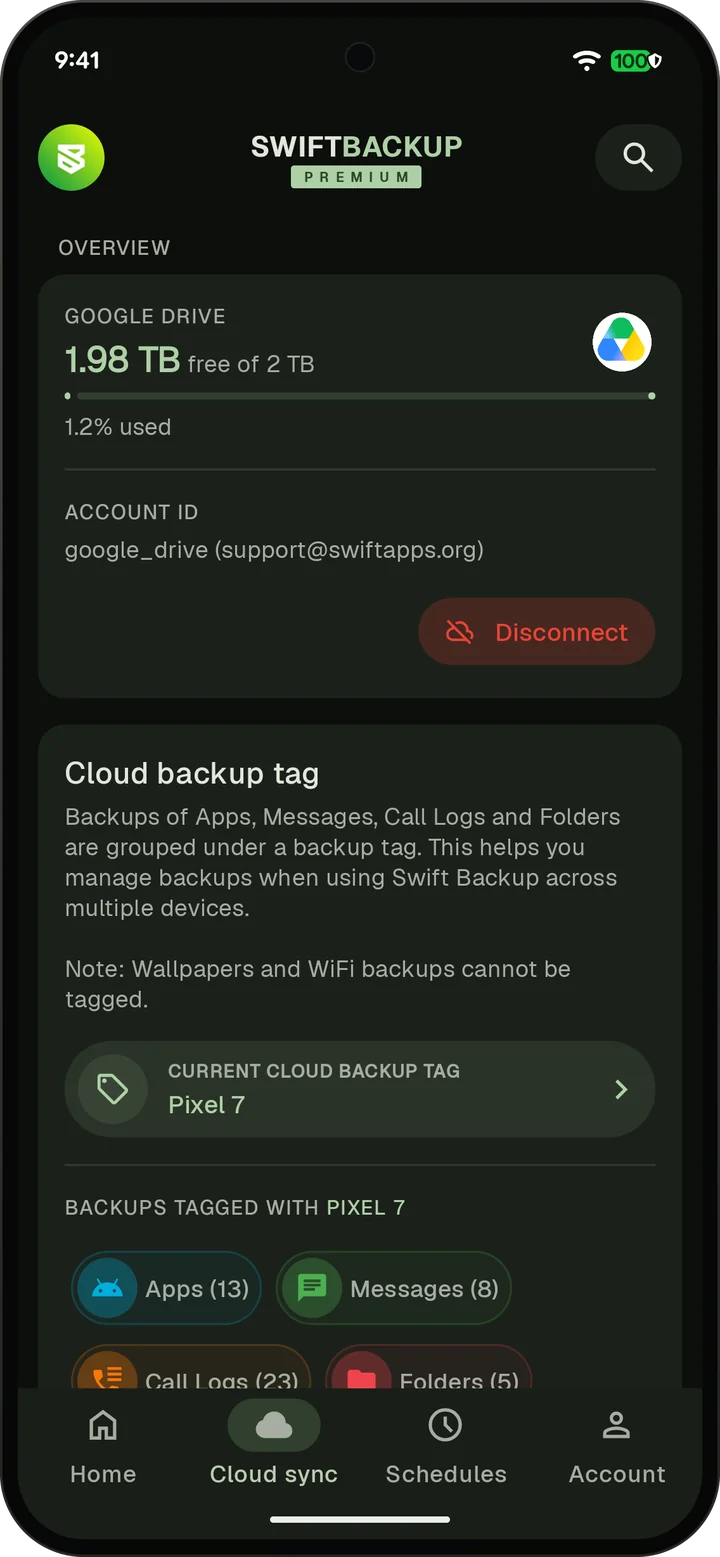
For cloud backups, tap Cloud sync and then Connect a cloud account. Pick the same service and account as before. Google Drive uses the Google account you sign in with.
Pick the old phone's backup tag
Cloud backups of apps, messages, call logs and folders are grouped under a backup tag, named after the phone. If Swift Backup asks you to select a backup tag, pick the old phone. You can change it later under Current cloud backup tag in Cloud sync.
Restore in this order
Apps first
With root or Shizuku, tap Restore all apps on the Home screen, or use Batch actions and then Restore in Apps.
Without them, restore each app from its own screen. Android's installer asks you to confirm each one.
Then messages and call logs
Swift Backup has to be your default SMS app while it restores messages. When it's done, it asks you to switch back to your messaging app, so make sure that app is installed first.
Then Wi-Fi, wallpapers and folders
Restore these in any order. Restoring all Wi-Fi networks at once needs root or Shizuku on Android 11 and later. The Wi-Fi page covers each Android version.
If app backups don't show up, open Account, then Settings, then Swift Labs, and tap Scan local app backups to see why.
Some apps check the phone they run on and ignore restored data. Common issues lists what to try.